Below are the two steps for creating a virtual host in Windows 10 with XAMPP.
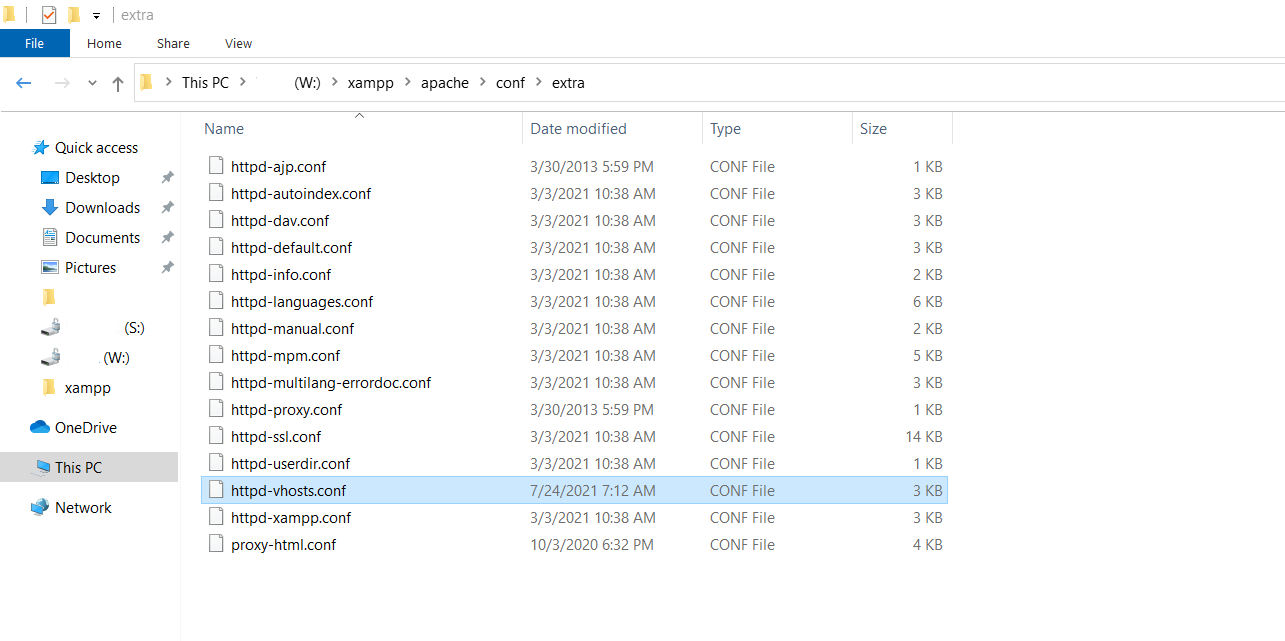
Step 1: Open the file httpd-vhosts.conf in a code editor (could be open in notepad as well).
File location: DriveName:\xampp\apache\conf\extra.
Now copy and paste the below code at bottom of the config file-
     <VirtualHost testvirtual.local>
                 ServerAdmin [email protected]
                 DocumentRoot "DriveName:\xampp\htdocs\testvirtual.local"
                 ServerName testvirtual.com
                  DirectoryIndex index.php
                  <Directory "DriveName:\xampp\htdocs\testvirtual.local">
                         AllowOverride All
                         Allow from All
                  </Directory>
     </VirtualHost>
Or you can use the below VirtualHost container as well:
<VirtualHost *:80>
DocumentRoot "C:\xampp\htdocs\testvirtual.local"
ServerName testvirtual.com
<Directory "C:\xampp\htdocs\testvirtual.local">
Require all granted
</Directory>
</VirtualHost>
Save the file and close it if you want else you can close it later.
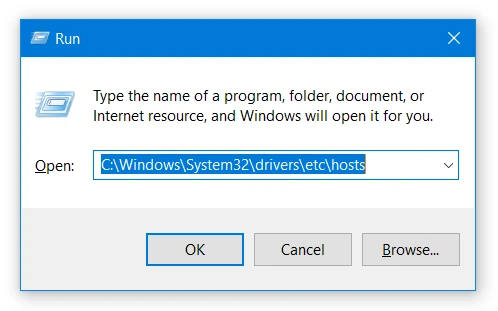
Step 2: Open the windows virtual host file named as hosts.
The file can be found at location C:\Windows\System32\drivers\etc\
Also, you can use win+r/R to open the file directly.
There you will see “127.0.0.1 localhost” is added already. Leave it as it is.
In next line write ” 127.0.0.1 testvirtual.local”
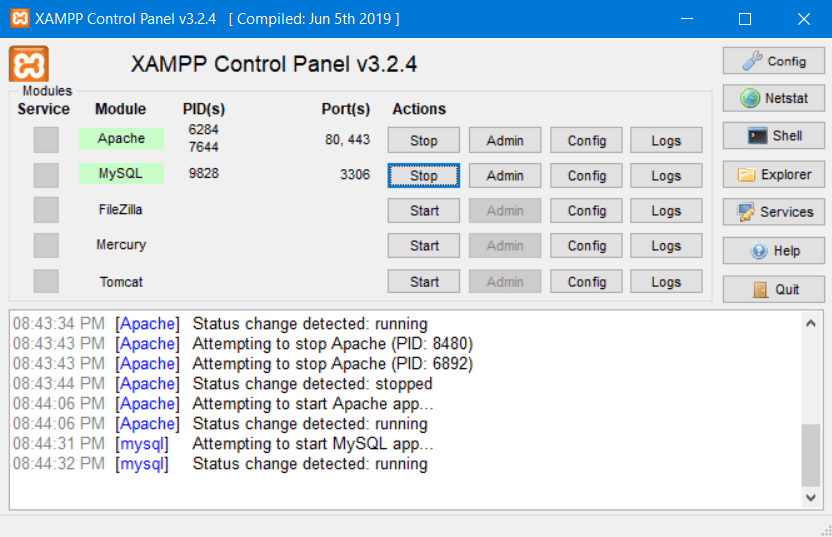
Save the file and restart XAMPP’s Apache server. You’ll see your virtual host running.